In this article, I’ll guide you to install Bitnami WordPress Multisite design on a localhost computer. A WordPress multisite is the answer to managing multiple WordPress websites quickly and efficiently. With the help of WordPress Multi site website design, the sites can be managed under one dashboard. WP Multisite network is used by several blog owners, schools, and businesses who need to run separate websites.
What is WordPress Multisite exactly?
A WordPress (WP) Multisite platform is a network of more than one sites or blogs from a single WordPress installation. All the websites/ blogs use the same WP database, directory, and config files.
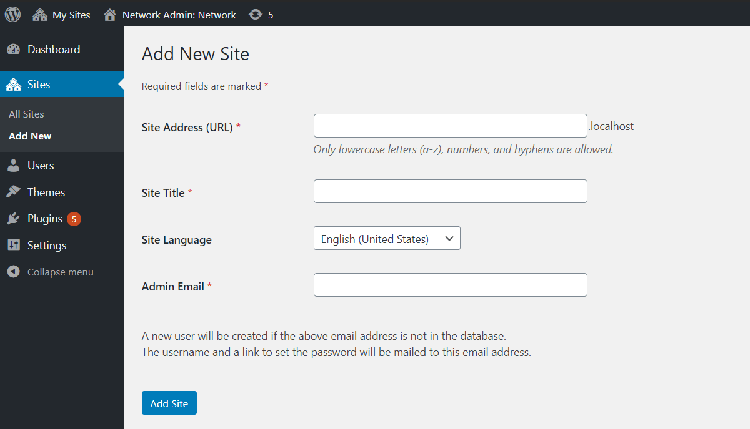
In this type of setup, the management of the WordPress installation is under the “Network Administrator.” And the individual sites and also have the respective Site Admins as well. The WordPress Multisite enable in Bitnami Localhost setup can help you work on different websites locally.
Moreover, it enables you to create new sites instantly and quickly without the hassle of buying a new one. And, you can log in with the same username and passwords in all the multisite of WordPress. All the websites/ blogs can be customized separately on your network. You can also convert the site to multisite WordPress. Moreover, you can also create new page for large multisite websites.
How to Install WordPress Multisite on Localhost?
To install WordPress Multisite on localhost, make sure you have the administrator rights to access the computer. First of all, download the latest version of WordPress from the Bitnami Website.
Install WordPress Multisite on Localhost
Suggested Readings –
Install WordPress Multisite on Localhost
- Double click on the Bitnami install icon to launch the installer.
- Select all the components/ tools you would like to install. If not sure, leave the as it is and then click “forward.”
- Now the installer will ask the location to install the program, or you can click “forward” to install it in the default location.
- Then type in the login id and password that will be used to create and access the WordPress dashboard. Click “forward” when done.
- After that, enter the blog name for your website, and hostname.
- At last, click “forward” and wait for the installation to complete.
When logging in the dashboard, Your browser might throw an error “Cookies are blocked or not supported by your browser. You must enable cookies to use WordPress.”

To fix this error, you need to edit the wp-config file of your Bitnami WordPress.
- Head over to C drive
- Go to the Bitnami folder, and then in apps
- After that go to WordPress, and after that go to htdocs folder
- Now edit the wp-config.php file and add the below lines of codes just above this /**#@-*/.
define(‘ADMIN_COOKIE_PATH’, ‘/’);
define(‘COOKIE_DOMAIN’, false);
define(‘COOKIEPATH’, ”);
define(‘SITECOOKIEPATH’, ”);
WordPress Multisite: Cookies Error Fix
And, after doing the steps as mentioned above and then reload the website to and try logging in again.
Do share it with your friends if this method works for you.


